

This project creates a bastion host and an RDS for MYSQL DB instance. The project shows you how to access the DB instance from a bastion host with users with an ssh key.
Step 1: Create a bastion host
Step 2: Configure a new user and key pair
Step 3: Create a MYSQL DB instance
Step 4: Connect to the MYSQL DB instance
Conclusion
Step 1: Create a bastion host
Building and maintaining a secure infrastructure often requires access to the production database. As databases are typically located in private VPCs with no outside connection or access to the internet, To gain access, we need to have an intermediary computer in the VPC that can access the database and relay that connection to us.
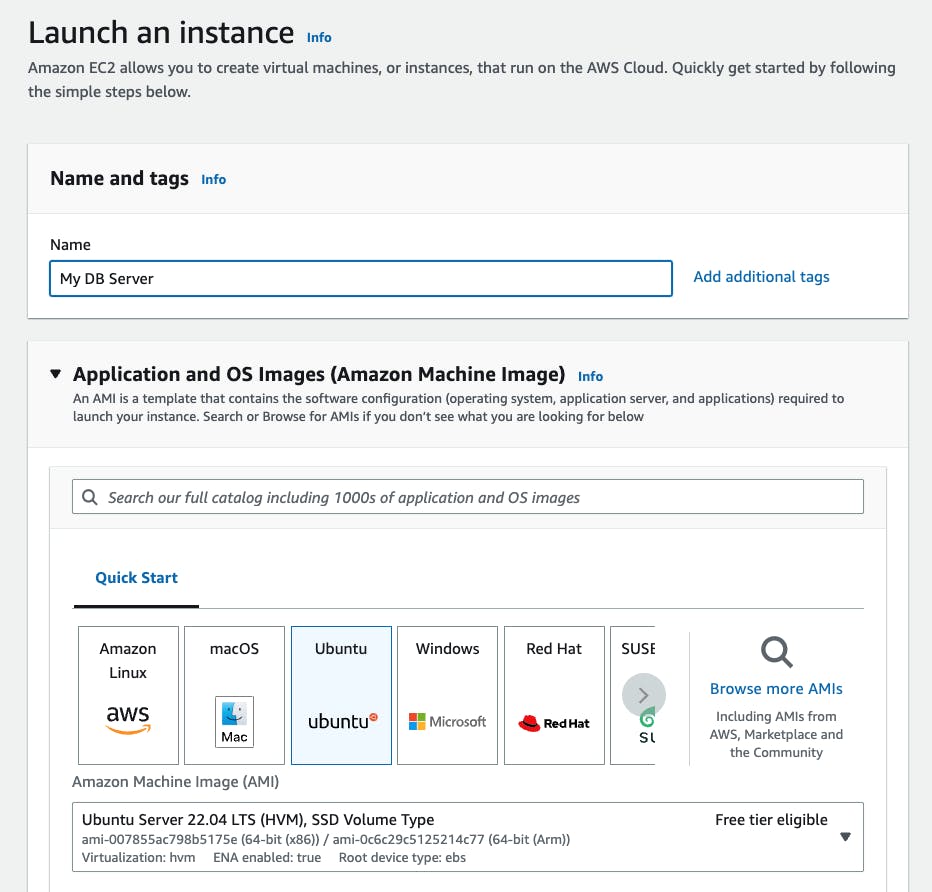
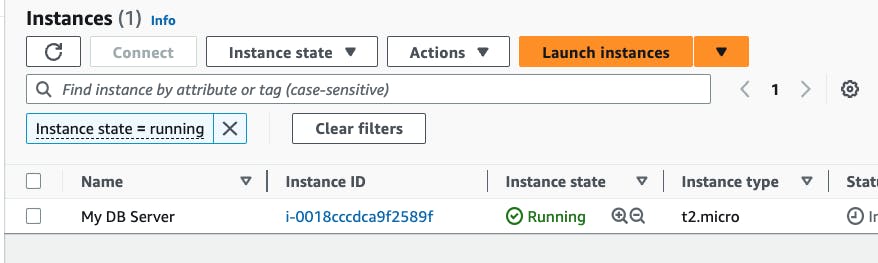
- Create an Amazon EC2 instance that you will use as a bastion host to connect to your database.
Step 2: Configure a new user and key pair
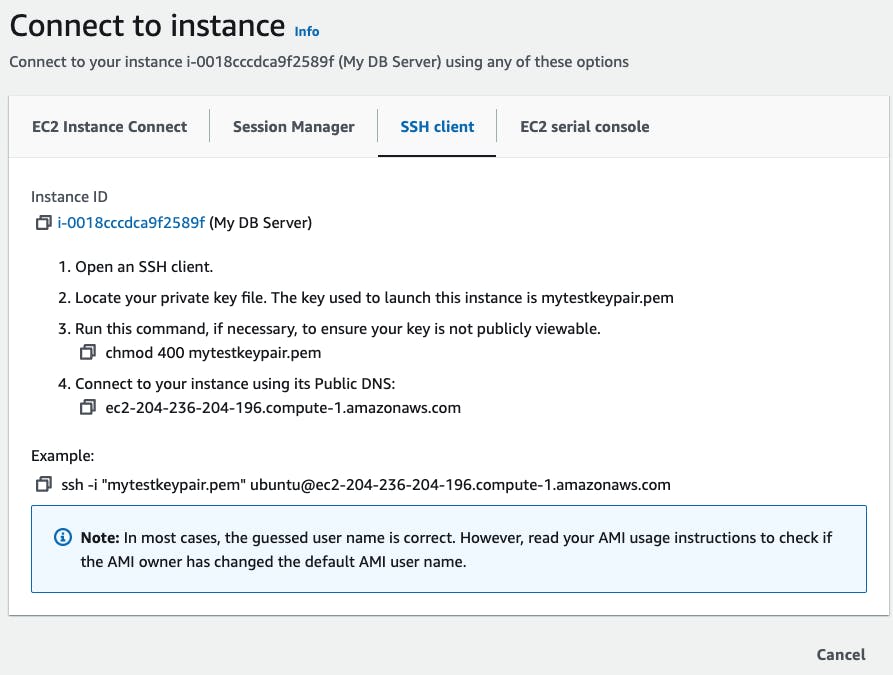
SSH into the newly created EC2 instance
Change directory into .ssh
Add a new user and switch to the new user
      sudo adduser --disabled-password new_user
      su new_user
create a directory for .ssh on your new user profile and give permission for folder
      mkdir .ssh
      chmod 700 .ssh
create an authorized keys file and change permissions for the authorized keys file
      touch authorized_keys
      chmod 600 authorized_keys
In your local machine,if youre using Linux or Mac, open a terminal, and create a new key pair for your new user in a new directory.
      mkdir new folder
      cd new folder
      ssh-keygen -t rsa -b 4096
You will be prompted to name your key pair, and the output will look like the image below;
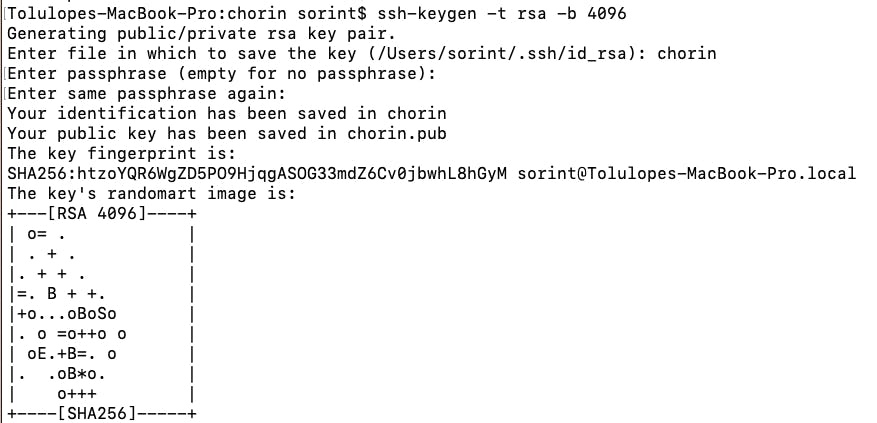
View and copy the generated public key into the "authorized_keys" file of your Bastion host machine.
Step 3: Create a MYSQL DB instance
Open the Amazon RDS console at https://console.aws.amazon.com/rds/ in a new tab.
Select Databases on the top left pane and create a new database using the standard create database creation method. Use the following parameters;
Engine options: MySQL

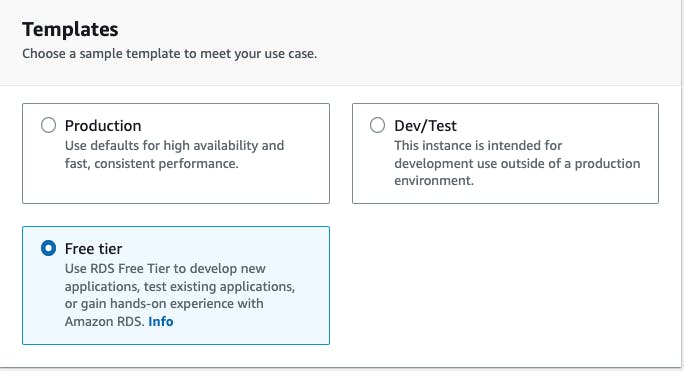
Templates: Free tier
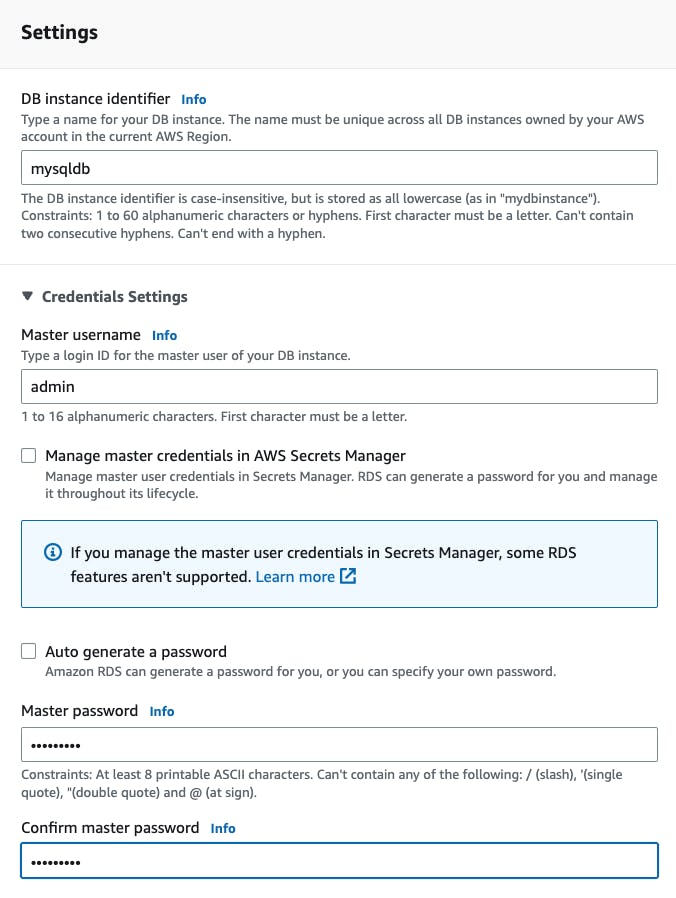
Settings
DB Instance identifier: your desired name
Credential Settings: set your username and password.
Connectivity: make sure your DB instance uses the same VPC as your bastion host. You can use a new security group or choose an existing one.
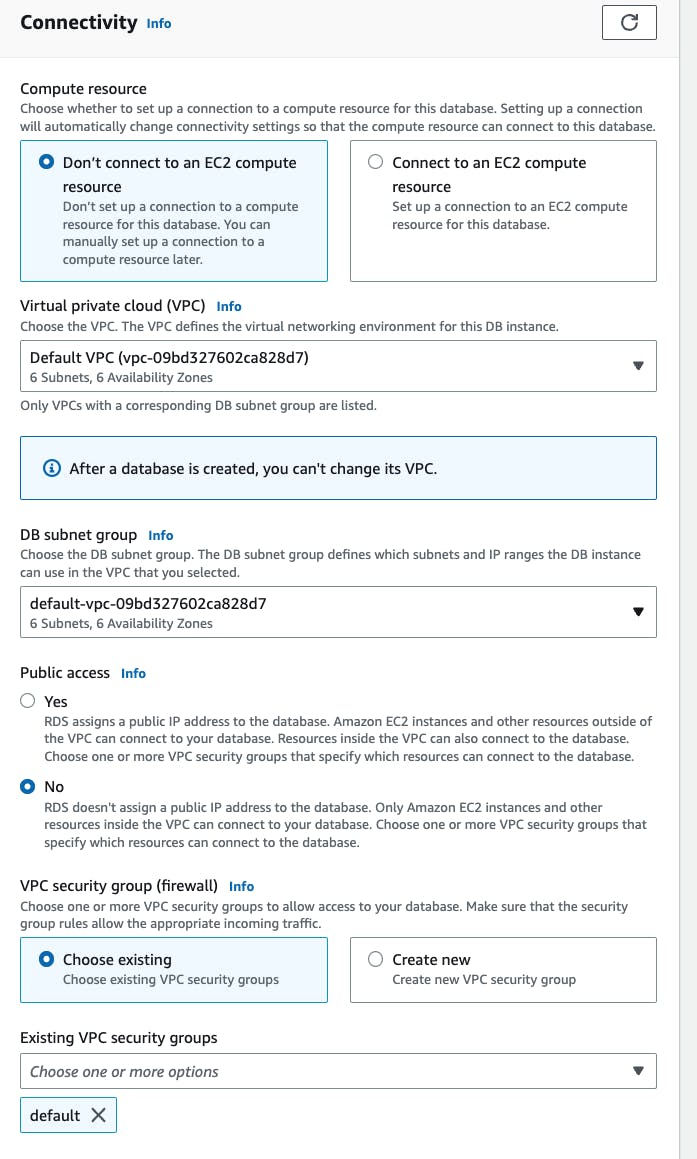
All other parameters can be left as defaults.
Note: your database might take a few minutes to launch. In the meantime, If you used a different security group from the security group used by the Bastion host while setting up the DB instance, you will need to configure the security group of the DB instance to accept inbound connections from the Bastion host
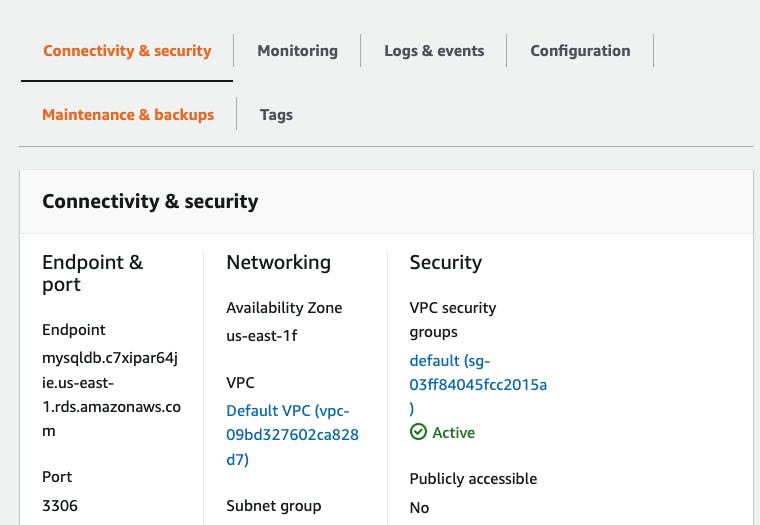
On the Connectivity & Security tab, copy the endpoint. Also, note the port number. You need both the endpoint and the port number to connect to the DB instance.
Step 4: Connect to the MYSQL DB instance
On a new terminal, SSH into your Bastion host with the new_user profile, we will connect the Bastion host to the newly created RDS using a standard SQL client application to connect to the DB instance.
      sudo apt update
      sudo apt-get install mysql-client
Connect to your DB instance using;
mysql -h <RDS endpoint> -P <port number> -u <username> -pNow you will be in a SQL terminal, you can run the database-related commands.
Conclusion
In this project, we have created a Bastion host (EC2), added a new user with a key pair, we also created a MySql database instance using RDS and accessed the database instance through the Bastion Host.